")
Table of Contents
- How to Photograph Earrings in Five Easy Steps
- 1. Ensure you have all the equipment you need.
- 2. Familiarize yourself with the camera functions.
- 3. Know what looks good for the type of earrings you’re photographing.
- 4. Photograph to show scale.
- 5. Retouch your photos.
- How to Photograph Earrings with the GemLightbox
- Tools used:
- How to Photograph Dangle and Drop Earrings
- Frequently Asked Questions:
- How do you take pictures of earrings?
- How can I take pictures of jewelry at home?
- How do you take good pictures of jewelry?
- How do you take a selfie with earrings?
- And there you have it!

Are you struggling with earring photography? Do you feel that your creative vision isn’t manifested in your jewelry images; that your unique and sophisticated designs are not properly captured because you lack the expertise, or the products are just too difficult to work with? Earrings are notoriously challenging even for professional photographers. They’re small. They dangle and depending on the materials you used, it’s one of the pieces where the details matter. But worry not. In this post, we’re giving you straightforward steps on how to photograph earrings with no sweat!
Product photography was probably one of the online shopping trends in 2020 but years later—pandemic, inflation, and all—we could very well confirm that it’s more than just a trend. It’s a necessity and in fact, one of the most critical aspects of e-commerce. The Retail Technology Review found that 75% of online shoppers rely on product photography to make purchasing decisions. The demand to bring tactile experiences to online shopping has translated into urgent outcries for more quality images to breathe life into products. If you asked us about it years ago, we would have said that such is a tall order for some jewelry retailers who don’t have the expertise on it. But today, it’s a different story. With many advanced technologies sprouting from every corner, jewelers have no excuse for bad photography. It’s just a matter of answering the demand.
In this post, we’re going to give you a few simple tips on how to respond to that demand. Here, you will learn how to photograph earrings without spending on unnecessarily expensive photography equipment or props. Just like how no two diamonds are alike, jewelry photography techniques may vary for each type and such is the case for today’s subject—earrings. Read on!
Jewelry Photography: A Comprehensive Guide for Jewelers
Jewelry photography is a notoriously difficult process. The gems are highly-reflective, the pieces are commonly small, and colored stones don’t appear as vibrant in photos as it is in reality....
How to Photograph Earrings in Five Easy Steps
1. Ensure you have all the equipment you need.

- Your camera or smartphone and lens
- Lighting source if you don’t have access to natural lighting
- A tripod
- Light reflectors and diffuser, alternatively, you can use white fabrics, a roll of pure white paper, a foam core board, or a lightbox. You can DIY a lightbox or purchase a commercialized one but make sure that it’s designed to meet your subject’s needs
- Earrings stand or other props appropriate for the type of earrings you’re photographing
- Other backdrops if you’re going for a more creative look
- A table you can work on to level the lighting source and your product
Jewelry Photography Equipment You Need For Sparkling Photos
The market is saturated with jewelry photography equipment, props, and accessories. Let's simply the list with basics. Click to learn more!
2. Familiarize yourself with the camera functions.

Understanding the fundamentals of light is the key to mastering jewelry photography. These fundamentals include functions like aperture, shutter speed, and ISO. When you know how to make appropriate adjustments using these components, it would be easier for you to control reflections and eliminate common flaws in jewelry images like harsh shadows, glare, and shaky and grainy pictures.
There are many different jewelry photography lighting setups you can apply to your next photo shoot, but you must always consider the type of jewelry you’re photographing to choose the right one. Take note that different metals and gems require different lighting and lighting position that help you capture the best earring photo.
Further, turn off the on-camera flash when photographing your earrings or other pieces of jewelry because direct lighting would be too harsh and might result in glares. Additionally, always set your camera on manual settings. While using auto-mode is tempting, it’s not the friendliest route for DIY photographers who are aiming for studio-quality jewelry images. You’re free to work with auto-focus, but this is as far as you can get when it comes to the automatic setting. You must take control.
Five Ways Poor Jewelry Photography Can Hurt Your Business
Have you been struggling to make sales lately despite your unique and well-researched and crafted jewelry designs? Maybe, it’s your jewelry images. Look again. If you were your customer, would...
3. Know what looks good for the type of earrings you’re photographing.
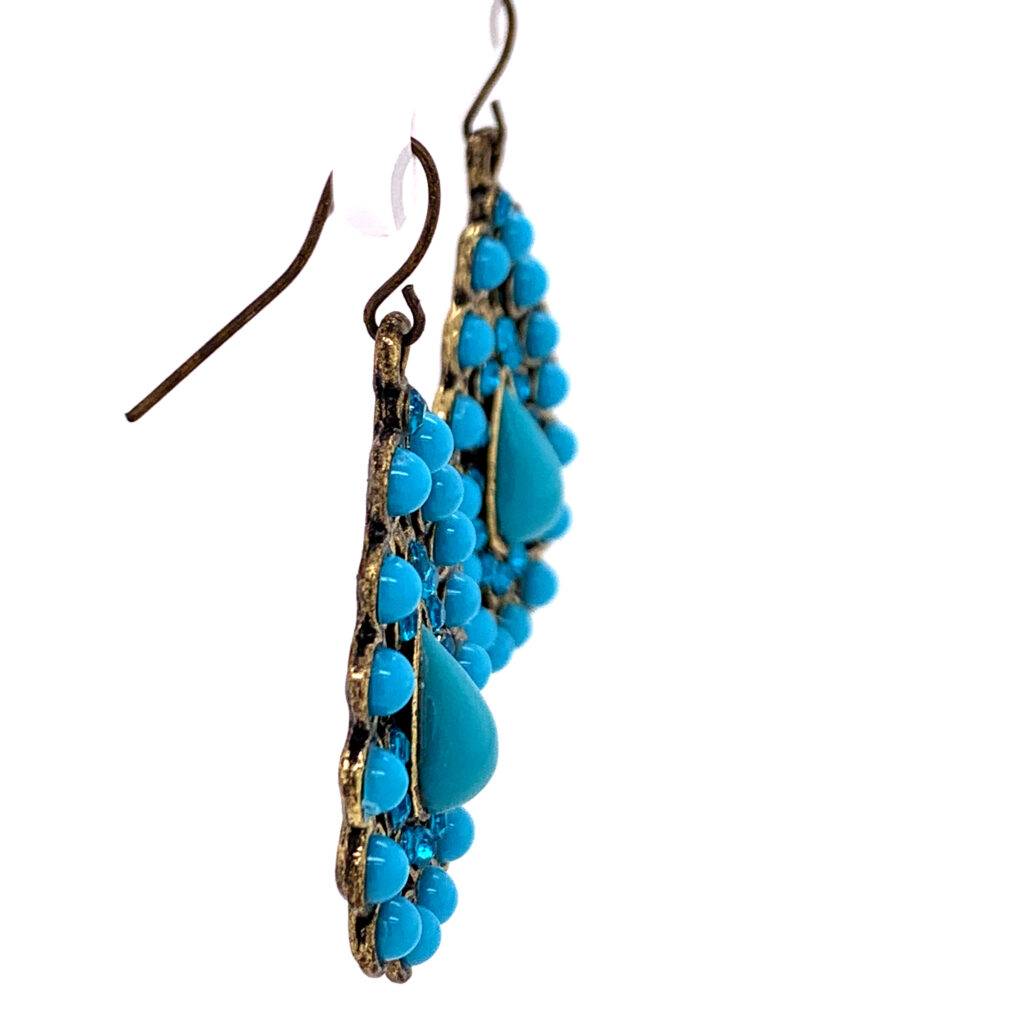
Long/Dangling Pair of Earrings
A pair of dangling earrings, especially long dangling ones, is the most difficult type to photograph because it doesn’t stand on its own. This means that if you have intricate earring designs, you have to be creative to capture the back and front sides of the pair without cheapening the look of your jewelry piece.
Common Don’ts:

- Don’t group different pairs in one photo
Group photos can be effective depending on how you use them. However, when it comes to selling earrings online, grouping different pairs with different designs in one photo could overwhelm and confuse your potential buyers.
When jewelry images appear too cluttered, the buyer would have a hard time focusing on the details. Think of your product image as your salesperson tasked to answer your buyer’s questions. If the buyers aren’t satisfied, they won’t linger. They’d likely keep scrolling until they find the right product image that resonates with them but sadly, it could be your competitor. Keep in mind that you only have 7 to 8 seconds to draw them in. Don’t push them away in a second.
- Avoid using distracting props
Don’t hang your dangling earrings on teacups or other similar unappealing props as it could easily distract your potential buyers. We’ve seen a lot of earrings hanging on teacups. It appears to be a common sight on various online marketplaces. While this will do the job of letting the earrings stand, you’re compromising the aesthetics aspect of your work. Whether it’s plain or printed cups, the overall look would be unattractive and doesn’t speak professional, at all.
- Don’t let it lay flat on the table or if you must, practice the art of composition
A flat arrangement, without consideration for composition, communicates a lack of style and creativity. Poor display of jewelry like this misrepresents the true quality of your product and the sophistication of your brand. Aside from this, flat composition makes it harder to get some tiny details in focus. It may often appear blurred if you’re not cautious about your camera settings.
Do’s/Fixes:

- Use display boards that will allow you to suspend your earrings for photographs
These display boards may be reflective or non-reflective depending on the look you’re going for. Amazon has an enormous collection of display boards for jewelry product photography like this one. Always consider the color when purchasing. Online marketplaces like Amazon, eBay, and other e-commerce platforms and retail websites prefer a white background for a more studio-finish quality.
Alternatively, you can DIY an earrings holder by using a roll of white paper, fishing string, a white acrylic thread, or any clear thread you may have at home to suspend the piece, and just retouch and polish the background afterward.
- Clean your props
If you’re using a glossy display board, ensure that you clean the board before using it to remove blemishes on the surface. Lower your piece until it reaches the glossy platform if you want to capture good reflections but don’t overdo it.
- Always photograph each pair individually instead of grouping different pairs together.
It will keep your product in focus and will help the shoppers examine the details more closely and free from distractions.
How to Photograph Jewelry at Home
If you have been following this blog, you’d know by now that photographing jewelry is one of the most difficult tasks to carry. Many jewelers make too many mistakes not…
Stud Earrings
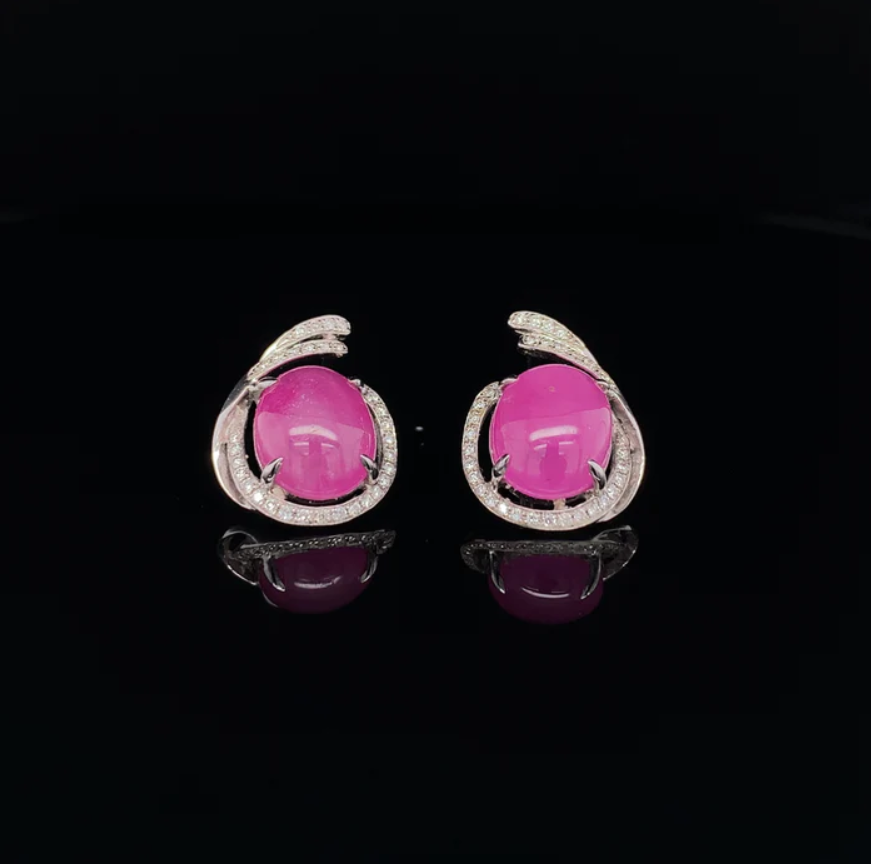
Unlike long and/or dangling earrings, stud earrings are pretty straightforward with a few considerations to avoid a dull finish.
- Place the earrings on the platform
As mentioned, if you’re going for a clean white or black background, use display boards or a roll of paper for an even-colored background. Position the stud earrings nicely, preferably at a full frontal angle for an unhindered view.
- Mind the placing
Position the studs next to each other, but not too close to the point of covering the side details. Alternatively, you can come up with one full-frontal view and another one showing the side and back angles.
- Create interesting compositions by capturing different angles
For instance, aside from capturing the frontal angle of the pair, you can also show side angles to highlight the back details of the earrings and the texture of the material. Does your pair have pushbacks, screw-on, clip-on, levers, or latch backs? Use your jewelry images to communicate details to your buyers. It will eliminate the time you’ve to spend answering customer questions.
4. Photograph to show scale.
Showing the scale is critical in product photography as it gives your buyers a size of reference. Showing scale is a technique often neglected by retailers, but it can improve the quality of your jewelry images by helping buyers visualize how big or small the stones are. Don’t keep them guessing. The inability to touch and try on the products is challenging enough for them, so exert effort to ensure that they enjoy their online shopping experience and make them feel confident about their purchasing decision.
How do you show scale?
There are three ways to show scale. Use your good judgment and taste as each method has its downside.
- Indicate size by photographing your earrings next to a coin
Other jewelers use pennies for size reference; however, coins may not be an ideal prop for scale if you’re selling internationally since different countries have different currencies. Nevertheless, always clean your coins before photographing so they won’t ruin the overall look of the image.

- Other jewelers communicate size to their shoppers by using a mannequin
Mannequins seem to be an easy and modern solution because they eliminate distractions present in live models like makeup and hair. Other jewelers who are concerned that live models may present sanitary issues also prefer mannequins. However, live models may work if you’d mention in your product description that the model is wearing another pair exclusive for photoshoots. Live models may not work for one-of-a-kind handcrafted jewelry.
For a better visual presentation, a mannequin can show only one earring at a time.

- Don’t forget the product information
Include the exact dimensions (length, width, depth, height, etc.) in your product description.
5. Retouch your photos.

Retouching your photos is easy if you have advanced photo editing skills. You can simply eliminate blemishes and adjust colors, lighting, and contrasts through Photoshop. If this is a process you haven’t done before, you can scour the internet for free photo retouching tutorials. You can also outsource this to expert photo retouchers online for a quicker finish at reasonable prices.
What is Photo Retouching And How Can it Improve Your Jewelry Product Images?
Photography, Retail, and Advertising In the 1830s, Louis Daguerre introduced his gift to the world – the daguerreotype – the world’s first commercially and publicly known photographic process. It was a big…
How to Photograph Earrings with the GemLightbox
In this section, we’re going to show you how to photograph stud, drop, and push-back earrings with just your smartphone and the GemLightbox.
Tools used:
- The GemLightbox
- GemLightbox turntable
- GemLightbox Aerial
- The GemLightbox app
- Earrings
- Smartphone
How to Photograph Dangle and Drop Earrings
Dangle and drop earrings are normally challenging to photograph because of their designs. They’re normally not easy to style in the frame; because of their length; however, with the right tools for the job, consider the task half-done.
The GemLightbox Aerial fits the bill. It’s an add-on plug-and-play solution designed for capturing photos and 360 videos of necklaces and dangling jewelry pieces in style.
Aerial comes with four accessories, as shown below.

To begin photographing dangling earrings or drop earrings, simply follow the steps below.
- Suspend the earrings nicely using the dangle earring holder inside the GemLightbox.


- Next, put back the front reflector, position your phone, and open the GemLightbox app for an optimal result. Don’t forget to adjust the brightness as needed and zoom in or out to make sure the jewelry looks perfect in the frame.


- Finally, click to capture a photo or go into video mode to capture a 360 video.

The GemLightbox device is flexible. It allows you to capture 360, 90, or 45-degree videos in either fast or slow motion.

Further, if you want to capture the jewelry at a particular angle, there is no need to put your hand back inside the GemLightbox to adjust the angle. You just simply click the arrow keys on the side to automatically rotate the earrings inside the lightbox until you find the angle that works for you.

The arrow keys feature is extremely helpful for photographing earrings from different angles, especially if you’re selling jewelry on e-commerce platforms. Using these keys, you can effortlessly capture jewelry photos from the front, side, or back angles.
Lastly, do not forget to click ‘save’ every time you take photos or videos. This will also allow you to transfer your visual assets to different platforms easily, including posting them directly to your social media pages.
Isn’t that convenient?
Watch the video below to see the GemLightbox Aerial in action.
Check out the 360 video and photo we captured from the video above.

Frequently Asked Questions:
How do you take pictures of earrings?
First, gather all the photography equipment you need. Then, familiarize yourself with the camera functions. Next, vary the composition based on the type of earrings you’re photographing. Finally, take different photos showing the scale of your earrings and the design. Capture from different angles as much as possible.
How can I take pictures of jewelry at home?
Follow these tips on how to photograph jewelry at home. Ensure you have everything you need at home to carry out a photoshoot. Look for a spot in your home where lighting is best; otherwise set up a corner with controlled lighting.
How do you take good pictures of jewelry?
Taking good pictures of jewelry requires proper lighting and equipment. Invest in different light sources, know your camera functions and features, and use a white or neutral background to highlight your product details.
How do you take a selfie with earrings?
To take a selfie with earrings, stand in front of a mirror and focus the back camera lens of your phone on your ear. Take a test shot and repeat until you capture your desired outcome.
And there you have it!
Product images are your most effective sales tool when selling jewelry pieces online. In fact, 70% of your competitors are spending heavily on imagery as part of their content and marketing strategy. Display earrings and other pieces of jewelry online with assured confidence that your buyers can envision their styles with your product. Think of this, if your buyers can retain 80% of what they see and only 20% of what they heard or read, how do you want your brand to be remembered?


3 Comments
I’m in love with the designs of jewelry of your collection.
Where can I buy the gadgets to place my hearring? I like that!!!
Hi Maria,
I’m glad you liked our Aerial product. Please contact our sales team via the link https://picupmedia.com/contact-us/?contact-sales and they’d be happy to assist you. Thank you!