
Table of Contents

Here’s a very typical scenario that many jewelers can relate to.
You’re a bespoke jeweler and have been approached by a customer to craft an engagement ring on a very tight deadline.
You have the initial consultation with the customer
You realize the concept
You negotiate payment terms
You source the materials
You manufacture and polish the piece to perfection.
You let your customer know about the completed job
Then they let you know that they’ll be picking up the engagement ring later in the afternoon and you’re thinking GREAT!
But you’ve forgotten one thing. You haven’t taken proper pictures of the engagement ring for your own internal records and also for your online portfolio
The customer picks up the engagement ring and you’re scratching your head and kicking yourself for only taking a few sloppy pictures that work best.
So what do you do next? You promise yourself that you’ll make the effort to shoot some great images for all future pieces you create.
In this how-to guide, we’ll go through the best shooting angles for your rings, so you won’t have another regrettable experience.
Angle 1 – The Front Angle
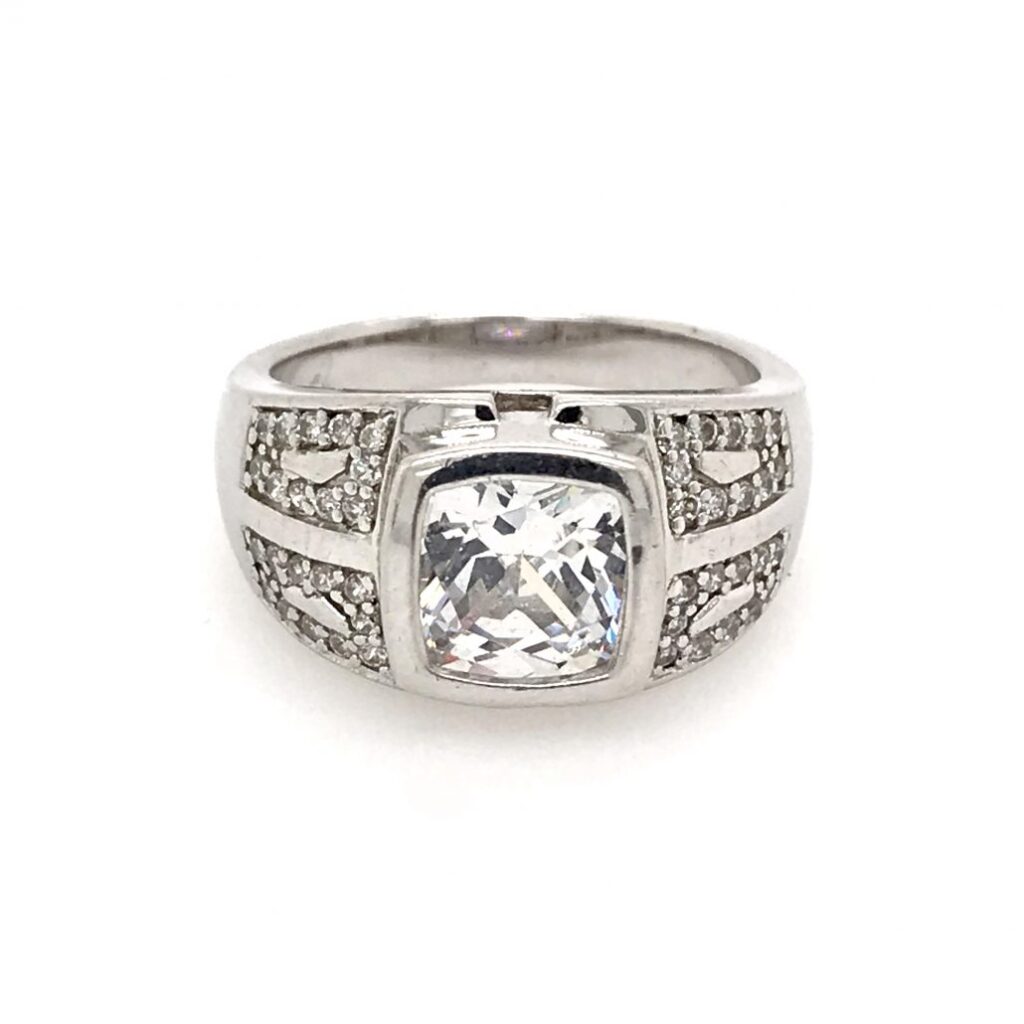
The front shot is one of the angles we highly recommend shooting. When you are shooting from the front, you a bringing a level of symmetry to your piece. Symmetry is associated with beauty, aesthetics, and perfection. Your jewelry pieces should reflect these qualities. Therefore you really would want to take advantage of this powerful photography technique.
If your piece is not symmetrical, they will still focus on the front of the ring so that can fully appreciate your design.
To shoot in the front angle, simply place the ring on a flat, clean background. You can choose from many different backgrounds, however, if you are shooting portfolio images we do recommend shooting against a white background.
Now position your camera or smartphone so that the ring is centered (use your camera’s in-built gridlines for this) and adjust the height of your tripod so that back shank is popping up subtly to show any hallmarks.
This is what we consider the perfect balance of the front design and back shank. Check out this video below on how we shoot the front angle
Angle 2 – The Side Angle

The side angle allows your audience to appreciate your design from the side. It helps accentuate gemstones, claws, and band not captured from the front angle
You only need to shoot one side if your item is symmetrical. If the ring design is asymmetrical, shoot from both sides.
To take this shot, use the same height on your tripod as you did for the front angle. Now turn your jewelry clockwise or anti-clockwise by 45-90 degrees.
Check out this video below on how we shoot the side angle.
Angle 3 – The Top Angle

The top angle allows your audience to see the width of the band and any details of the side. Once again you will be taking advantage of the symmetrical properties of your ring.
The difficulty in taking this shot is positioning your lighting and camera so no shadows are cast by your camera. In this case, using a lightbox should eliminate the shadows.
You can check out below on how we shoot the top angle
Angle 4 – The Three-Quarter Angle

The three-quarter angle aims to capture all the details of a ring in a single image. We consider this a “lazy shot” because many jewelers use this angle as their only shot to showcase their designs.
But who can blame them? Jewelry photography is notoriously difficult and time-consuming. Sometimes jewelers can only afford to take one image before moving onto the next thing.
For the three-quarter angle shot, we will be using white gum or dental wax to “defy gravity” and hold our jewelry in place. The issue with this shot is that the gum or wax will be visible on bands that are very thin.
In this case, you need to do use software to remove the gum or wax from your image. This could be a time-consuming process.
Below is a quick tutorial on how we shoot the three-quarter angle
BONUS: 360 Degree Video
Why not let your audience see your rings in all angles by shooting a 360 video?
Statistically, the numbers don’t lie. According to marketing and sales behemoth, Hubspot:
“73% More Visitors Who Watch Product Videos Will Buy”
If this statistic doesn’t make you want to explore 360 videos, then you must really be in it for the love of jewelry!
“71% of Consumers Think Video Explains the Product” Better”
What this means is that your audience is better educated about your designs and styles so that when they approach you, they are already considered as highly qualified as leads.
“58% of Shoppers Think Companies with Product Videos Can Be Trusted”
This is especially important if you are establishing your brand or looking to expand. With so many jewelers out there, you really do want to stand out from your competition.
Now, you’re probably asking “how”? We’ve got you covered in our comprehensive how-to guide to shooting 360 videos here.
If you’re looking for a solution that will allow you to effortlessly capture 360-degree white background videos, we recommend you have a look at GemLightbox. In the video below, we use an iPhone, a simple turntable and a white piece of paper to shoot a 360-white background video.
Combined with modern technology, you can convert your 360-degree videos into interactive videos where your potential customers can interact with them. Just check out the interactive video of the same ring below.
It’s so fun to play around with, right? You just spent an additional 3-5 seconds on this page. This is a perfect example of how interactive videos make your products stand out and increase the amount of time your audience spends on your website. Now, imagine the additional time a potential customer would spend on your website if you had interactive videos for every single piece!
Concluding Remarks
In the end, it’s entirely up to you how many of these angles you use. But one thing is guaranteed, stick to the same number of angles every single time. Consistency builds trust and helps you build a relationship with a potential customer faster.
If you need help with optimizing your images best for your website or are looking for any jewelry photography solutions, PicUp Media can surely help you. To get in contact with a specialist for a FREE consultation, simply contact us here.


7 Comments
Thanks for sharing helpful information.
Hi John!
You’re welcome! We’re happy to be of help.
Have a nice day!
It’s always interesting to read articles from other writers and use something from their websites. Thanks for sharing.
Amazing Work
Nice work Here
Great Post! You are sharing wonderful post. Thanks and keep sharing.
Very nice! I love to read your article. Thanks and keep sharing.