Table of Contents
- What causes the camera to shake?
- Basic Photography Tips: Camera Shake Reduction
- 1. Understand how Aperture, ISO, and Shutter Speed work.
- 2. Use a sturdy tripod
- 3. Enhance your grip and body position
- Frequently Asked Questions:
- What is the best way to reduce camera shake?
- How do you take pictures less shaky?
- What camera settings are best for shaky hands?
- What feature on the camera helps minimize shaky movements?
These basic photography tips come in handy, especially when competing for brand presence and product visual appeal online. If you’re running a small online jewelry store, you have likely encountered the nerve-wracking difficulty of taking product photos of jewelry without a visible camera shake. It has long been established that jewelry photography, with all its glitter and sparkle, is tricky. Most of the time, simply avoiding jewelry photography mistakes is not enough to achieve a flawless, sure-sale finish, especially if it’s the stubborn camera shake.
The truth is, camera shake cannot be entirely excluded, but you can reduce its visibility and impact.
Are you a mover and shaker with unsteady hands? No problem! Follow these basic photography tips for sharp and crisp handheld jewelry images.

What causes the camera to shake?
Shutter speed is one of the three essential foundations of photography. It stands for exposure time and therefore controls exposure, and is the one responsible for conveying dramatic actions and effects such as freezing, isolating subjects, and blurring subject motions for moving subjects. Motion blur should not be confused with camera shake.
Camera shake, which is attributed to camera movement, creates a different kind of blurriness when the shutter speed is slow. It occurs when the photographer fails to hold the camera still, not to mention the tendency to become oblivious to the critical impacts of shutter speed and other foundations. As complex as they may sound, this means you don’t need cameras with exorbitant price tags to achieve stellar results, you just need to improve your jewelry photography techniques.
Basic Photography Tips: Camera Shake Reduction
1. Understand how Aperture, ISO, and Shutter Speed work.

ISO is used to measure your camera’s level of sensitivity to light. A low ISO means lesser sensibility while a higher ISO means higher sensibility. You might have heard the rule that using the lowest ISO will enable you to use just the appropriate level of aperture and shutter speed you need but there will be cases when a high ISO is required, particularly when photographing subjects in low-light environments. Be cautious, though, as higher sensibility might work against your goal of capturing high-quality images because it produces image noise manifested in grainy images.
To overcome inappropriate trade-offs, develop a solid understanding of these three foundations of photography so you’ll know how to adjust the settings to achieve an optimal combination of the three.
Aside from good exposure settings, reducing camera shake also requires you to avoid over-exposure which emphasizes the importance of excellent natural lighting.
If the above does not suffice, take a look at the other techniques below.
2. Use a sturdy tripod

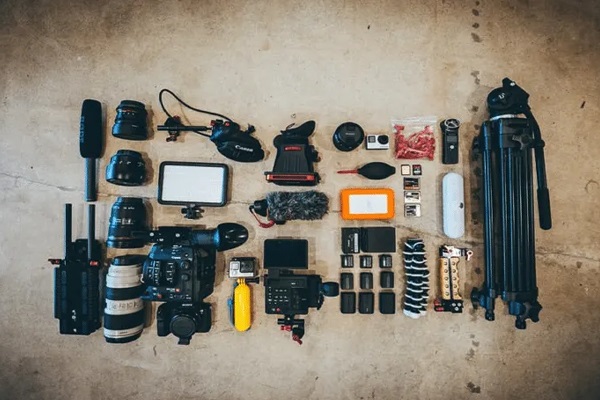
Undeniably, a tripod performs one of the most basic photography functions, but the factors involved in choosing a sturdy one are far from simple. You might often hear some people purchasing cheap tripods only for them to end up in the dusty storage room because they do not do what they promised to do; however, the real problem begins the moment you decide to cheap out on purchases like this.
In choosing a solid tripod, consider the length and quality of the tripod legs, its sturdiness, and materials, as well as the ball head. Is it steady enough to keep the camera at your intended frames?
Once a decision is reached, make sure to eliminate other components that can cause camera shakes such as camera straps, your hands, and other environmental components. Some tripods come with a remote shutter release, otherwise, use your hands to set the timer.
3. Enhance your grip and body position

While a high-performing tripod is definitely worthy of investment, sometimes, as a small business owner, you just don’t have the resource to purchase it yet. This does not mean you have to settle for less. In fact, all you need to do is to enhance your handheld position and techniques.
First, learn to control your breathing and brace yourself by finding a good, comfortable position such as sitting and holding your camera against a wall or any steady object to improve stability.
Second, consider how you hold the camera. Reducing camera shake requires you to hold it firmly and comfortably while keeping your elbows close to your body. This position will help keep your arms steady. When sitting, your knee could also be used as a tripod. Rest your elbow on it and bring the other elbow close to your body for maximum support.
Frequently Asked Questions:
What is the best way to reduce camera shake?
The best way to reduce the camera shake is to use a tripod.
How do you take pictures less shaky?
Use a tripod or a smartphone holder if you’re using a smartphone for photography.
What camera settings are best for shaky hands?
Use lenses with image stabilization or cameras with shake reduction. While a slow shutter speed works best for telephoto lenses in reducing camera shake, it’s still not good enough without a proper hand-held technique.
What feature on the camera helps minimize shaky movements?
Image stabilization features help minimize shaky movements.
Indeed, photographing images and achieving professional quality results take time and effort! Do you know other basic photography tips that could help reduce camera shake? Feel free to comment below!


0 Comments